
Thinking of relocating to Canada through a student visa? Here’s a step-by-step lifestyle guide from YarnNaija on how Nigerians can study and japa to Canada successfully.
✈️ Ready to Japa? Here’s How to Relocate to Canada via Student Visa from Nigeria
You’ve probably heard, “Canada is the new UK.” And it’s true – more Nigerians are choosing Canada for their studies and permanent residency dreams. With world-class education, flexible immigration pathways, and multicultural vibes, it’s no wonder Canada is top of the list.
This step-by-step lifestyle guide will show you how to relocate to Canada via the Student Visa route—from choosing a school to touching down in Toronto, Winnipeg or Vancouver.
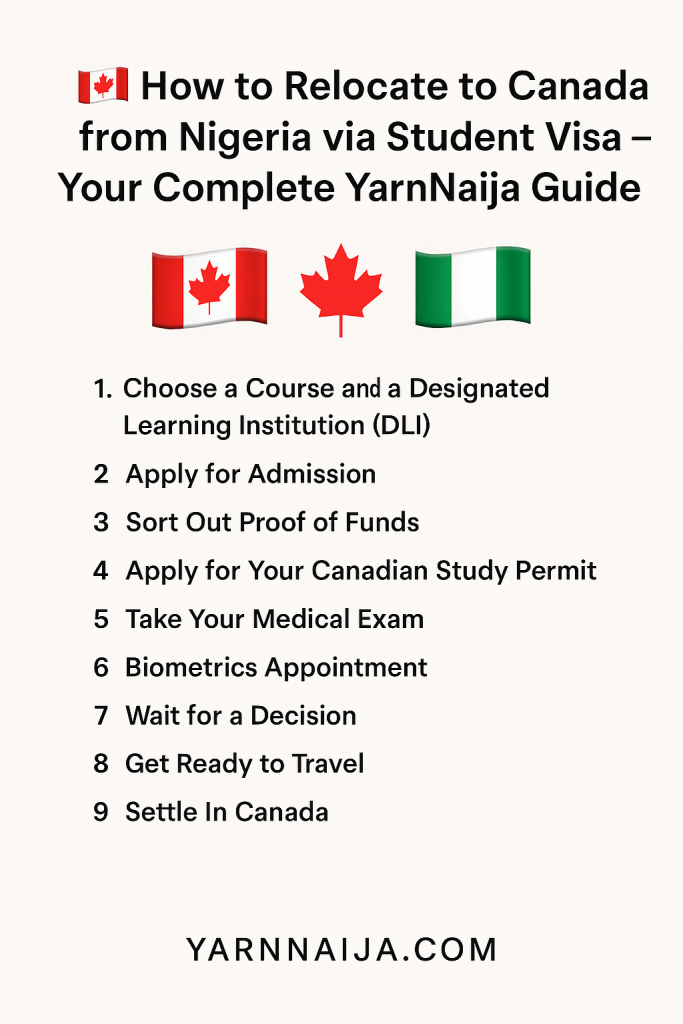
🎓 Step 1: Choose a Course and a Designated Learning Institution (DLI)
Start by picking a course that aligns with your career goals. Make sure the school is a Designated Learning Institution (DLI) – that’s the only way you’ll get a valid student visa.
Find schools here: DLI List
Popular choices for Nigerians:
- University of Manitoba
- University of Regina
- Conestoga College
- Centennial College
- Fanshawe College
📄 Step 2: Apply for Admission
You’ll need to submit:
- Academic transcripts
- Statement of Purpose (SOP)
- Reference letters
- International passport
- WAEC/NECO results or Bachelor’s degree (depending on level)
- Proof of English proficiency (IELTS or Duolingo English Test)
Once accepted, you’ll receive a Letter of Acceptance (LOA) – a key requirement for your visa.
💰 Step 3: Sort Out Proof of Funds
You must show you can pay:
- 1 year of tuition fees
- Living expenses: Minimum of CAD $10,000 (or CAD $11,000 for Quebec)
Proof can be:
- Bank statements
- Sponsorship letter
- Guaranteed Investment Certificate (GIC) – usually required for the Student Direct Stream (SDS)
🛂 Step 4: Apply for Your Canadian Study Permit
Apply online via IRCC Website
Documents needed:
- Letter of Acceptance
- Passport
- Proof of funds
- IELTS/Duolingo result
- Medical exam (Upfront if using SDS)
- Immigration application fee (CAD $150)
👨⚕️ Step 5: Take Your Medical Exam
You must complete a medical exam at a panel physician approved by IRCC in Nigeria (usually in Lagos or Abuja).
👨💻 Step 6: Biometrics Appointment
After applying, you’ll be asked to submit biometrics (fingerprints and photo) at a Visa Application Centre (VAC). Book it ASAP.
⏳ Step 7: Wait for a Decision
Processing times vary. With the Student Direct Stream, you can get results in 20 days or less (if you meet the criteria). Regular route may take 8–12 weeks or longer.
🧳 Step 8: Get Ready to Travel
If approved, you’ll receive a Port of Entry (POE) Letter and your temporary visa/sticker. Book your flight, pack smart (especially for winter!), and prepare to collect your Study Permit at the Canadian border when you land.
🌍 Step 9: Settle In Canada
On arrival:
- Get your Study Permit at immigration
- Apply for a Social Insurance Number (SIN)
- Open a Canadian bank account
- Get a phone line and start exploring your new home
🎓 Bonus Tip: Post-Graduation Work Permit (PGWP)
After studying, you can apply for a PGWP (valid up to 3 years), which allows you to work full-time and transition into permanent residency through Express Entry.
✨ Final Yarn
Relocating to Canada through a student visa is more than just japa—it’s a real investment in your future. Plan well, follow the steps, and soon you’ll be living your Canadian dream.
At YarnNaija, we’ve got your back—one visa at a time.
💬 Got questions or experience to share?
Drop a comment below or tag us on social media with #YarnNaijaCanada. Let’s keep the japa conversation going!


